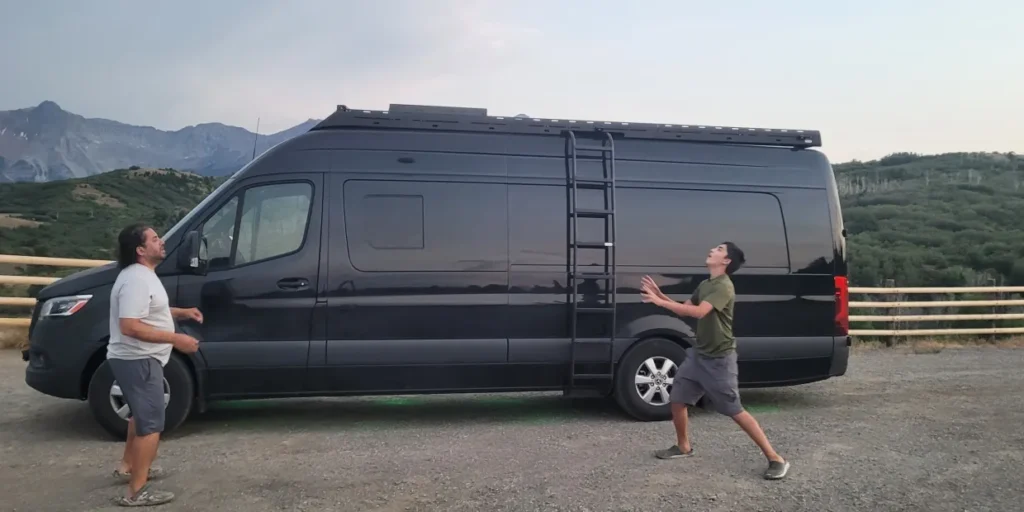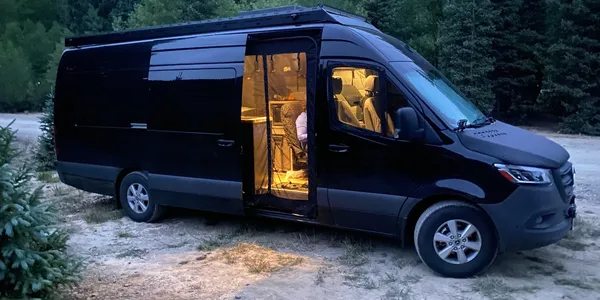
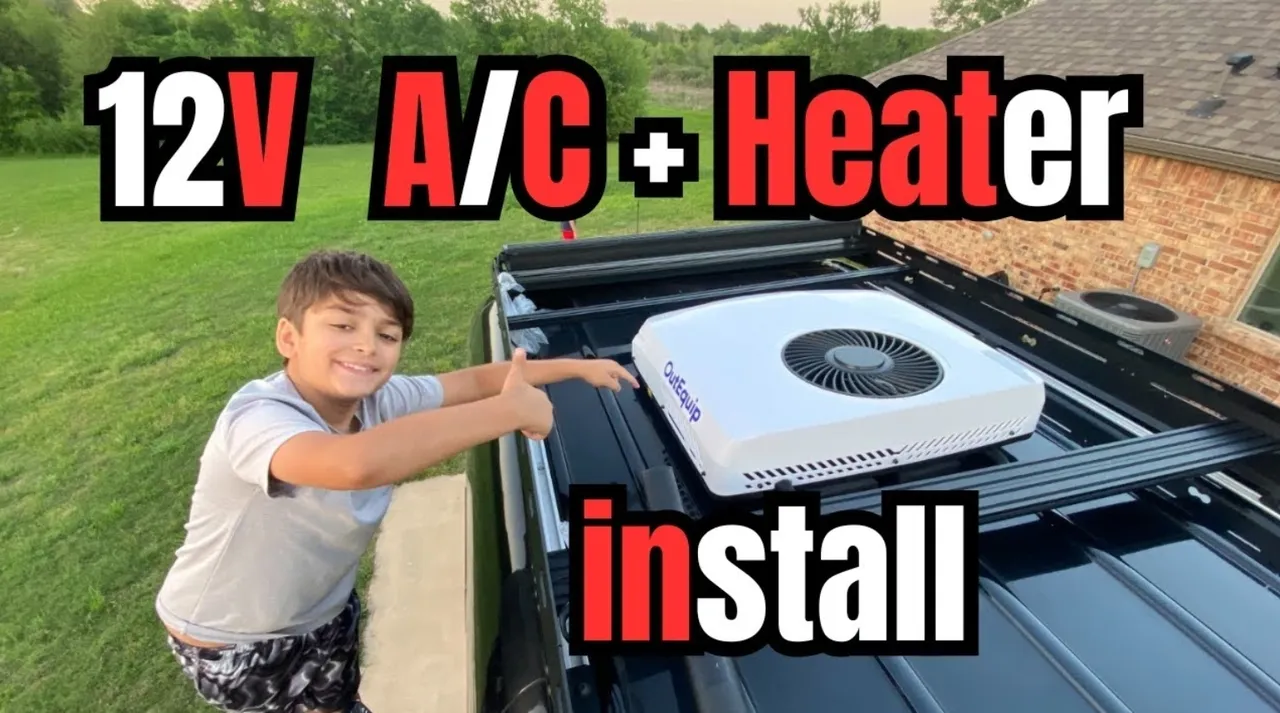
Are you looking to add a powerful heating and cooling solution to your camper van, RV, or SUV? The OutEquip Pro 12V Heater & AC combo offers a fantastic all-in-one solution. This guide will walk you through the installation process, sharing essential tips and tricks to make your DIY project smoother and more successful.
Why Choose a 12V AC/Heater System?
The OutEquip Pro unit operates on 12 volts, offering significant advantages for vehicle installations:
- Compatibility: Most modern vehicles use a 12V power system, making integration straightforward.
- Flexibility: You can power it directly from your vehicle’s electrical system while driving, or connect it to a portable power station or battery bank for off-grid use when parked.
- Efficiency: 12V systems are generally very power-efficient, especially when paired with a well-insulated van.
- Dual Functionality: This unit provides both heating (4500 BTUs) and cooling (10,000 BTUs) in one compact package, saving space and cost.
Installation Day: Preparation is Key
Proper preparation is crucial for a smooth installation. This job typically takes around 4 hours, but with these tips, you can significantly reduce fumbling time.
- Headliner Reference: If you have a headliner board installed, use it as a reference point for your hole. Mark the area where the unit will go, then lower the headliner. Make a few small pilot holes from the inside that correspond to the unit’s opening. This ensures a perfect match when you trim the headliner later.
- Clean Surface: Thoroughly wash and clean the roof area where the unit will sit, especially any humps or ribs. A clean mating surface is vital for a watertight seal. Use rubbing alcohol to ensure the surface is free of debris and oils.
- Template for Accuracy: The unit requires a 14×14 inch hole. Create a template of this size to mark your cut lines precisely on the roof.
Cutting the Roof: A Step-by-Step Guide
This is often the most daunting part, but with careful execution, it’s manageable.
- Mark Your Center: On the roof, identify and mark the exact center of where your unit will be placed. Use your 14×14 inch template to outline the cut.
- Pilot Holes: Make at least four or five pilot holes within your marked area. These will serve as starting points for your cutting tool.
- Contain Shavings: Place tape around your cut lines to catch most metal shavings. Position a box or container directly underneath the cutting area inside the van to catch the falling metal piece and any remaining debris.
- The Cut: Use a jigsaw with a metal blade. A disc cutter can also be helpful for cleaner edges. Pro Tip: Do not cut all the way through on all sides initially. Leave a small section (about this much) on each corner. Make your long cuts first, then use the disc cutter or jigsaw to cut the remaining small sections at the end. This prevents the metal piece from vibrating excessively or slamming down, potentially damaging components below.
- Clean Edges: Once the hole is cut, file down the edges, paint them to prevent rust, and consider adding an edge guard for safety. Vacuum and blow away all excess metal shavings from the roof and inside the van.
Gasket Application & Sealing: Crucial for a Watertight Seal
This is where a common mistake can occur, leading to leaks. Pay close attention to the gasket.
- The Gasket: The original gasket included with the unit is not a perfect square, which can lead to misplacement and leaks. Crucially, invest in a 14×14 inch one-piece gasket. This larger, perfectly square gasket provides more room for error and a much better seal. It also often comes with perfectly sized foam supports, eliminating the need for trimming.
- Placement: With the new 14×14 gasket, ensure it’s centered and fully adheres to the metal surface.
- Self-Leveling Sealer: Apply at least two to three coats of self-leveling sealer around the gasket on the roof. You can even apply a coat on the inside for extra waterproofing. Remember: You cannot cheat water!
Lifting and Leveling the Unit
Getting the unit onto the roof can be tricky, especially if you’re working alone or your van is tall.
- Lift from Inside: If you’re struggling to lift it from the outside, lift the unit from the inside of the van. Take your time, ensuring both legs of the unit drop into the hole.
- Centering: Once on the roof, ensure the unit is perfectly centered.
- Leveling: The unit may not sit flush due to the van’s roof ribs. You might need to trim away small sections of the ribs or add shims to ensure the unit is level. The included foam supports help, but you may need to adjust their placement or add additional bracing.
- Reinforce Flimsy Metal: If your van’s roof metal is flimsy (like a Mercedes Sprinter), reinforce the area around the opening with wood pieces. Screw them down and consider using construction adhesive for extra security. This prevents the unit from moving and ensures a solid mount.
Wiring and Powering Up: Avoid Extra Holes!
The wiring for the OutEquip Pro is straightforward, but there’s a critical tip to avoid making unnecessary holes in your roof.
- Internal Wire Routing (No Extra Hole!): The unit’s main power wire is long and comes out of a specific corner. Instead of cutting a separate large hole for this wire, you can notch out a small section of the gasket at the top (not the bottom!) in the corner where the wire exits the unit.
- Loop the wire around the foam blocks that support the unit.
- Bring it into the notched corner of the gasket.
- This allows the wire to drop directly into your van’s interior, often along a track in the headliner, without needing another large hole in your roof. This is much easier to do on the ground before lifting the unit onto the van.
- You can also route other wires (light, solar) through this same port, ensuring you seal it properly.
- Shorten the Wire (Optional): The provided wire is very long. You can shorten it by focusing on the area with the fuse and then trimming it down to your desired length. Lugs are inexpensive, and you can easily crimp a new one.
- Connect Wires: There are four connections on the unit. Connect the power wires (positive and negative) to your 12V power source (battery bank, portable power station). The unit is very easy to wire up.
Securing the Unit & Modifications
- Install Studs: Insert the metal studs into the unit, ensuring the part with the least amount of thread goes in first. Apply a little Loctite to prevent movement.
- Tighten Gradually: Do not crank down on the studs immediately. Ensure the unit is properly seated and reinforced before fully tightening.
- Shorten Studs for Headliner: The factory-length studs are often too long and will protrude past your headliner. You will likely need to cut these studs shorter to allow your headliner to sit flush. Prepare for this alteration.
Leak Test: Don’t Skip This Step!
After installation, perform a thorough water test. Let water run over the unit on your roof for at least 10 minutes to ensure there are no leaks.
Key Benefits for Van Life
Once installed, the OutEquip Pro offers a host of benefits:
- Built-in Light: The unit has a built-in light, perfect for nighttime use inside the van. It also has an option to turn the display light on or off for sensitive sleepers.
- Remote Control: A user-friendly remote allows you to control power, cooling, heating, fan-only mode, turbo mode, sleep mode, and a timer. You can also switch between Fahrenheit and Celsius.
- Ultra Quiet Operation: The compressor is barely audible, making it ideal for sleeping or relaxing in your van.
- Efficiency with Insulation: Once your van is fully insulated, the unit’s efficiency will be even more impressive.
Final Thoughts
The OutEquip Pro 12V Heater & AC combo is a robust, power-efficient, and easy-to-wire solution for your vehicle’s climate control needs. Its dual heating and cooling functions, combined with the 12V operation, make it a hard-to-beat option for camper vans, RVs, and SUVs. While some modifications may be required (like shortening studs), the overall installation is DIY-friendly.
This unit will significantly improve comfort in your van, transforming it from a hot oven in summer to a cozy haven in winter.
You can watch the full installation video here: https://youtu.be/qsGtl2X0fyIFor crucial follow-up tips on the gasket and wire routing, watch this video: https://youtu.be/8RGpvvMbasU
▶️ Unboxing video https://youtu.be/QX1o89CqNKg
▶️ Update with new Gasket installed https://youtu.be/8RGpvvMbasU
▶️ Buy HERE Exclusive Link: https://bit.ly/OutEquipProACHeaterRF Exclusive Discount Code: ADAM30