When you are converting a Mercedes-Benz Sprinter or cargo van into a custom off-grid campervan, choosing how to securely mount your interior wall panels, upper cabinets, electrical mounting boards, and water tanks is one of the most important structural decisions you will make.
While traditional sheet metal screws might seem fast and convenient, they strip out easily under road vibration, create oversized, wallowed-out holes over time, and offer zero professional integrity.
Enter the Rivnut (also known as a threaded rivet insert).
When installed correctly, Rivnuts become your absolute best friend, providing heavy-duty, reusable, flush threaded anchor points throughout your van. However, if done incorrectly—or if you take shortcuts—a spinning Rivnut or a sheared bolt can turn into a frustrating, time-consuming nightmare.
Watch the full step-by-step installation guide below to master Rivnuts and avoid costly structural mistakes:
Why Rivnuts Are Essential for Campervan Conversions
-
Heavy-Duty Load Bearing: Across a full Sprinter build, you might install 300 to 400 Rivnuts. They provide exceptional pull-out resistance, making them ideal for securing high-stress items like overhead 8020 aluminum galley frames, furniture brackets, and utility mounts.
-
Reusable, Durable Threads: Unlike sheet metal screws that degrade the surrounding metal every time they are unscrewed, Rivnuts allow you to remove and reinstall panels (such as during electrical maintenance) dozens of times without losing thread integrity.
-
Choosing the Right Size: For standard interior paneling and general mounting, 1/4″-20 Rivnuts are the undisputed industry gold standard—affordable, robust, and paired easily with standard hardware.
Step-by-Step Rivnut Installation Guide & Pro Tips
1. Accurate Hole Prep & Rust Prevention
-
Drilling: While Sprinter vans come with numerous factory-preset holes where Rivnuts fit right in, custom locations require drilling. A step-up drill bit makes clean, effortless, circular holes without tearing the sheet metal.
-
Deburring: Always deburr every fresh metal edge using a file or specialized deburring tool. Sharp edges can slice wiring harnesses or prevent the Rivnut flange from sitting flush.
-
Sealing Exposed Metal: Never leave bare metal exposed. Swipe every fresh hole immediately using a touch-up paint pen or Rust-Oleum to prevent moisture intrusion and rust.
-
The Metal Shaving Warning: Drilling and deburring create tiny metal filings that love to hide in van wall cavities. Vacuum thoroughly and blow out the panels with compressed air. If left behind, these iron shavings will oxidize within 24 hours, leaving stubborn, ugly rust bleeding down your van’s exterior.
2. Choosing Your Installation Tool
-
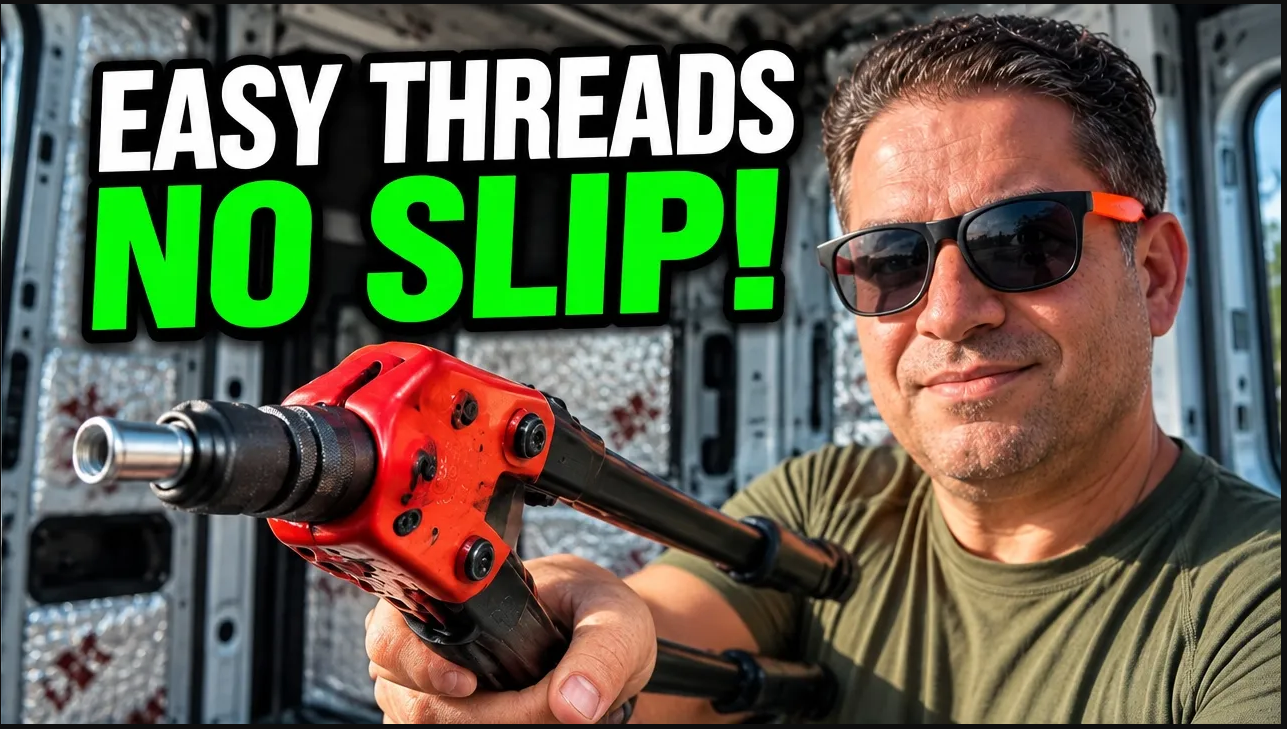
Method A: The Hand Rivnut Tool ($30+ Kit): Highly recommended for most van builds. A dual-handled rivet nut setter provides the mechanical advantage needed to compress inserts cleanly.
-
Crucial Technique: Always pull straight. Squeezing at an angle using long handle extensions will warp the tool’s mandrel or bend the van’s sheet metal. Furthermore, avoid overtightening. A common beginner mistake is trying to max out the tool handles thinking “tighter is better.” Overtightening strips the internal threads or deforms the insert; squeeze firmly until solid resistance is felt, then stop.
-
-
Method B: The Budget Bolt & Wrench Method (~$9): If you are only installing a handful of Rivnuts or need to squeeze into tight structural channels where a bulky hand tool won’t fit, thread a matching bolt through a nut and a backup wrench to manually draw and compress the Rivnut into place.
⚠️ CRITICAL WARNING: Never Use an Impact Driver for Rivnut Bolts!
This is the single most important rule of working with Rivnuts in a campervan build: Never use an impact driver or any power tool to thread bolts into your Rivnuts.
-
Why It Happens: Impact drivers deliver rapid rotational hammer blows designed to drive stubborn wood screws. When applied to fine machine threads in a Rivnut, that sudden high-torque impact causes the cylindrical body of the Rivnut to slip, breaking its bite against the backside of the van’s sheet metal.
-
The Consequence: Once a Rivnut starts spinning freely in its hole, it becomes nearly impossible to tighten or remove the bolt normally. You will be forced to hunt down the backside of the panel, wedge a tool to hold the spinning insert, or worse, drill out the entire assembly—risking paint damage and costing you hours of tedious rework.
-
The Correct Approach: Always start bolts by hand to ensure proper thread alignment, and use a manual hand tool (or a power drill set to its absolute lowest clutch setting) when running them down.
Finishing Touches: Panels, Washers, and Trims
-
Allow Panels to Settle: When mounting wooden wall or ceiling panels using Rivnuts, incorporate rubber washers alongside flat metal washers. Rubber washers distribute clamping pressure evenly, absorb road vibration, and prevent wood cracking. After putting panels up, let them rest for 2 to 3 days so the materials adapt to the van’s curvature before performing a final torque check.
-
Custom Handles & Storage: You can leverage Rivnuts for more than just walls. For instance, creating sturdy grab handles using an $8 handle combined with a heated soldering iron to punch clean mounting holes yields a rock-solid result.
📽️ Related Van Build Videos & Resources
🚐 Sprinter Build Playlists (60+ Videos Each)
-
▶️ VS30 907 170 Extended Build Series: Watch the Full Playlist
-
▶️ 170 High Roof Build Series: Watch the Full Playlist
-
▶️ Interactive 360° Campervan Tour: Explore the Van Interior
Final Thoughts
Mastering Rivnuts completely transforms your campervan build, elevating your interior from a fragile DIY project into a modular, professional-grade home on wheels. Just remember to prep your holes, avoid overtightening, and always keep power impact drivers away from your machine bolts!
You can check out the How to Install Rivnuts Video to see the tools, techniques, and setup in action!