If you are shopping for a used car at an auction, inspecting a vehicle in a parking lot, or troubleshooting a mysterious engine issue in your own garage, knowing how to accurately diagnose a blown head gasket can save you thousands of dollars and countless hours of frustration.
Having bought and evaluated cars on the fly for over 18 years, professional mechanics rely on a systematic approach to spot head gasket failures before tearing an engine apart.
Watch the complete, in-depth breakdown video below to see these methods explained step-by-step:
Understanding the Head Gasket
Before diving into the tests, it helps to understand what a head gasket actually does. The head gasket is a high-pressure seal sandwiched between the engine block and the cylinder head. On modern vehicles, it is typically made of a thin sheet of multi-layered steel designed to keep engine oil, liquid coolant, and high combustion compression strictly separated in their respective channels.
Why do head gaskets blow? Usually due to severe engine overheating (which warps the aluminum cylinder head) or over-torqued head bolts. (Note: Don’t confuse a blown head gasket with a leaking valve cover gasket, which simply seals the top valve cover to prevent oil leaks and maintain crankcase ventilation).
The First 3 Tests: No Tools Required (Perfect for Car Lots & Auctions)
If you are checking out a vehicle that hasn’t been started yet for the day, you can run these first three quick checks without a single tool in your hand:
1. Check the Oil Fill Cap
-
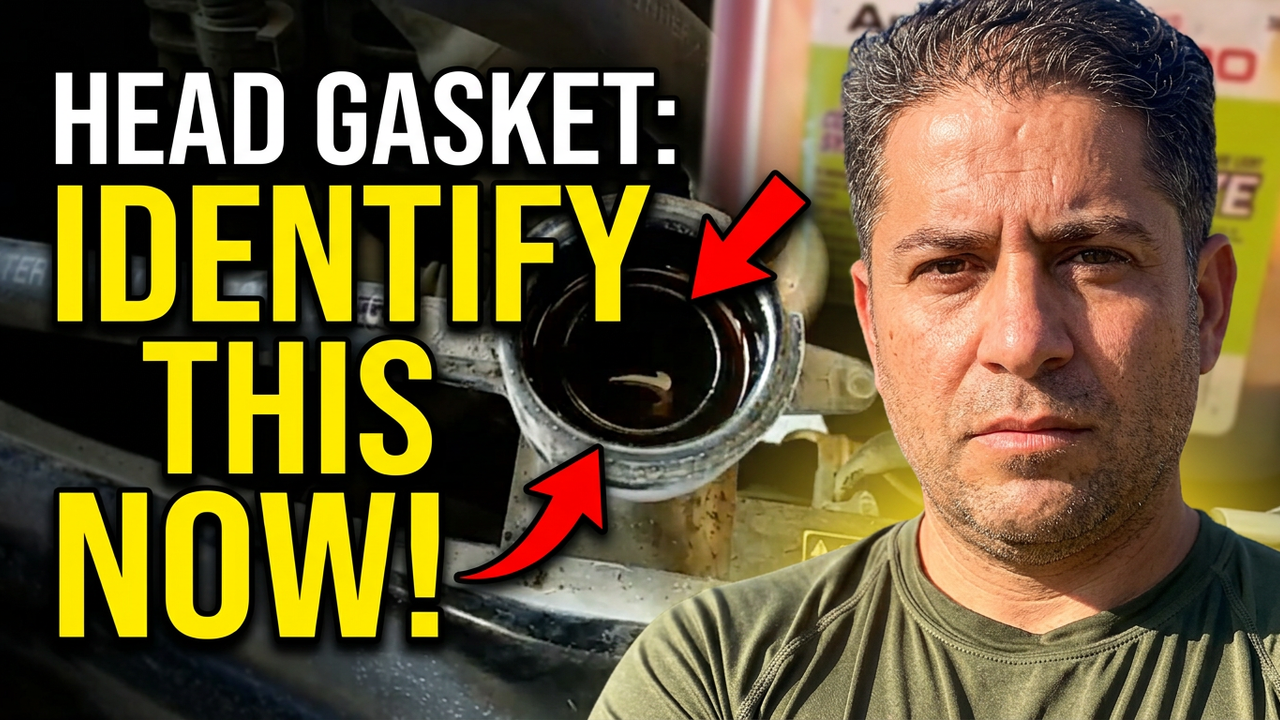
What to look for: Remove the oil cap and inspect the underside for any milky, creamy brown residue.
-
Why it matters: When coolant leaks past a compromised head gasket into the oil galleys, it mixes with engine oil to form a mayonnaise-like emulsion. Seeing this is an immediate red flag requiring further investigation.
2 & 3. The Radiator Coolant & Cold Startup Exhaust Test
-
What to do: With a completely cold engine, carefully open the radiator cap to verify that coolant is full and visible. Start the vehicle and observe both the coolant opening and the tailpipe exhaust.
-
What to look for: On a normal startup, any initial vapor or condensation should clear out within 10 minutes. You should see a steady fluid flow in the radiator without continuous burping, gushing, or large exhaust bubbles pushing coolant out. Persistent white smoke from the tailpipe after warm-up is another major warning sign.
Tool-Assisted Diagnostic Methods (Techniques 4 through 8)
If no-tool checks leave you needing definitive confirmation, it’s time to break out specialized diagnostic gear.
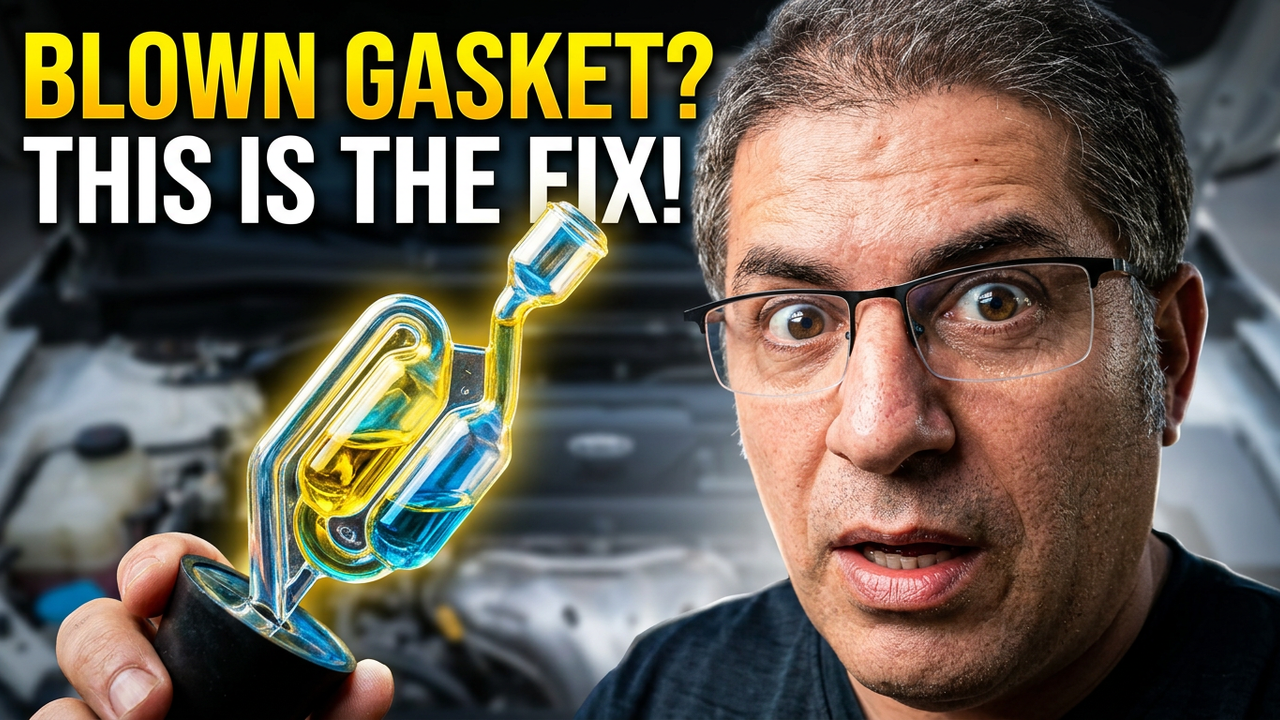
4. The Chemical Combustion Leak Test (Block Tester)
Using a combustion leak detector is one of the most reliable ways to confirm exhaust gases (hydrocarbons) are leaking into your cooling system.
-
How it works: Draw air from above the radiator coolant or closed coolant reservoir using a test bulb or turkey baster, passing it through specialized test fluid. If hydrocarbons are present, the fluid changes color.
-
Learn More: Check out the detailed walkthrough in the Chemical Tester Kit Video.
5. Cooling System Pressurization Test
-
How it works: Remove the engine cover, ignition coils, and all spark plugs. Inspect the spark plugs closely—if one or more plugs are wet or water-fouled, it’s a huge giveaway that coolant is leaking directly into that cylinder. Next, attach a pressure pump to the cooling system to check if it bleeds down under pressure.
-
🛒 Recommended Tool: Cooling System Pressure Tester Kit
6. Engine Compression Test
-
How it works: Perform this test right alongside your pressurization test while the spark plugs are already removed (saving you from doing twice the work and risking thread wear). Low compression on adjacent cylinders (such as cylinder #2 and #3) frequently points right to a blown head gasket.
-
🛒 Recommended Tool: Engine Compression Test Kit
7. UV Cooling System Dye & Optical Inspection
-
How it works: If you want to spot hidden external coolant leaks or head gasket seepage without tearing the engine apart, add specially formulated UV dye to your cooling system. Run the engine, then inspect hard-to-see areas (like the back of the cylinder block) using a UV flashlight while wearing amber-tinted safety glasses. The dye will glow brilliantly right at the source of the leak.
-
🛒 Recommended Gear:
8. Professional Emissions Analyzer
-
How it works: Usually reserved for professional repair shops, an emissions analyzer probe is placed above the radiator opening while the engine runs. It measures parts-per-million (PPM) of hydrocarbons escaping from the combustion chamber into the coolant. Higher PPM readings confirm a blown head gasket.
Pro Tip: Connecting the Clues
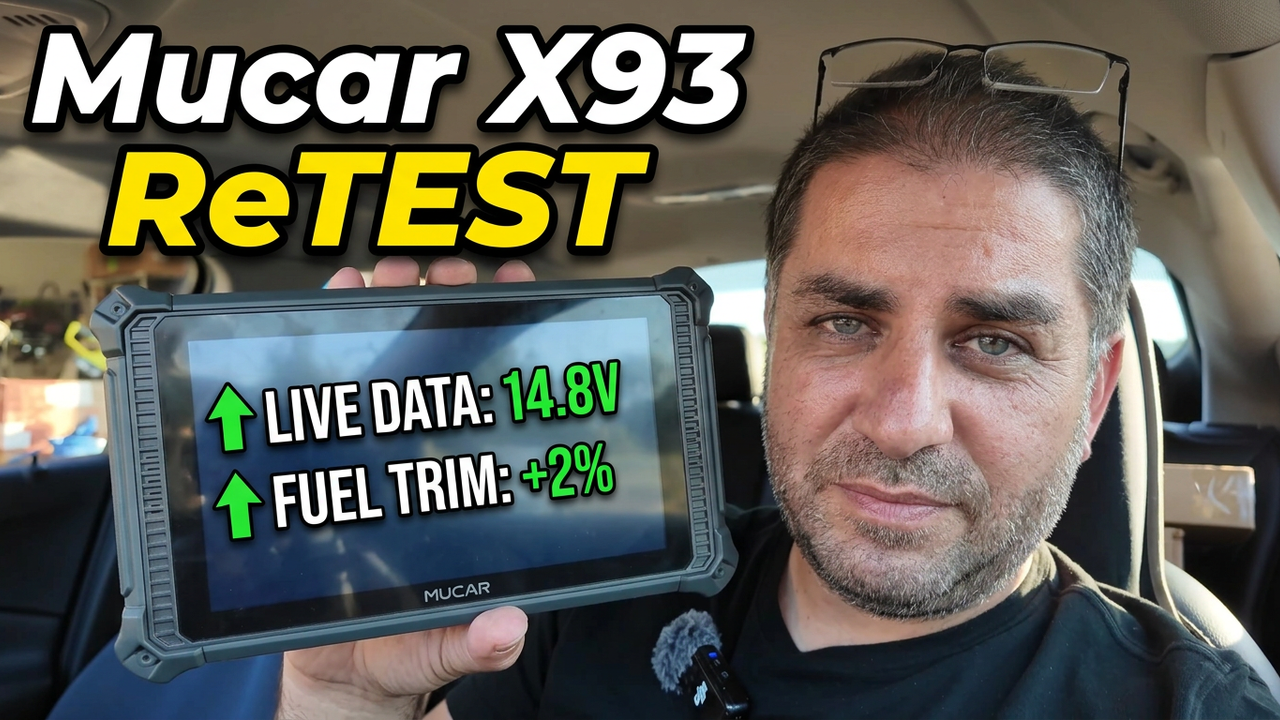
If your vehicle is throwing random misfire codes (such as a pending or active P301 code for cylinder 1) alongside coolant loss or white exhaust smoke, you are dealing with a classic blown head gasket scenario.
You can check out the 8 Ways to Test for a Blown Head Gasket Video to see these techniques in action!