A Critical Step for the Van Wife Shower
The drain installation for your Van Wife shower is a crucial step in your Sprinter van conversion. While it might seem daunting, especially with the “no redo” nature of cutting a hole in your van floor, this guide, based on a detailed installation walkthrough, will provide tips and insights to ensure it’s done correctly.
Pre-Drain Installation: Essential Shower Placement Steps
Before tackling the drain, ensure your shower unit is fully assembled and in its final position within the van. This process for the Van Wife 36-inch shower (and similar 30-inch or 24-inch models) involves:
- Mounting the Shower: Consider how your shower will be secured. If your van has an L-track system, utilize it! A clever method involves placing a piece of tape on the back of the shower, dabbing paint on mounting studs (like those on the L-track), then backing the shower into place. This transfers the paint, marking precise drill points for secure attachment. This method ensures the shower is firmly held in place by studs and the drain.
- Planning for the Future: When marking drill points, consider future adjustments or access. For instance, hiding wires in accessible corners ensures you can retrieve them if needed.
- Final Securing: Once drill points are marked, install nylon nuts and bolts to secure the shower, ensuring a perfect, contoured fit against the van’s interior. Silicone can be used for extra sealing, and washers help distribute the load. It’s crucial to have all electrical and other components out of the way before the shower is permanently fastened, as access will be limited once the drain is in.
Critical Timing: Why the Drain is Installed After Shower Placement
The drain is the very last element to install, primarily because once the hole is cut, there’s no going back. Drilling from the bottom side up is highly recommended to avoid hitting any of the van’s structural ribs. Using tire wells as a reference point can help pinpoint the general area for the drain from underneath the vehicle.
Drilling for the Drain
- Marking the Hole: From underneath the van, precisely mark the center of where the drain hole will be. Safety goggles are a must, as metal shavings will fly.
- Drilling the Pilot Hole: Carefully drill a pilot hole from the bottom up.
- Confirming Size: Verify that your chosen drill bit (e.g., a 2 and 5/16-inch bi-metal bit) is larger than the bottom of your drain.
- Final Hole: Drill out the full-sized hole from the top down, through the shower pan and the van floor.
- Rust Prevention: Immediately after drilling, treat all exposed metal on the outside of the van to prevent rust for years to come.
Installing the Drain & Plumbing Connections
Once the hole is ready, it’s time to install the drain:
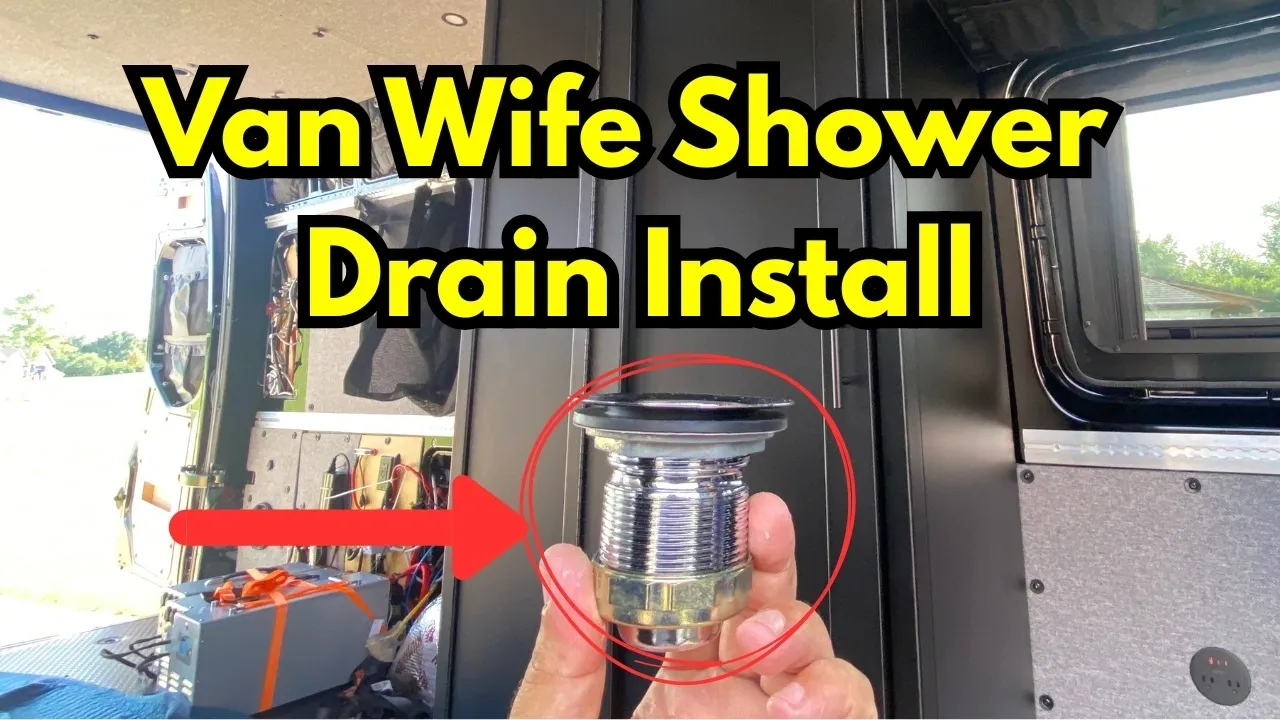
- Test Fit: Test fit the drain to ensure it molds correctly with the shower pan. You might need to gently tap it with a hammer for a perfect fit.
- Gasket & Silicone: Place the gasket on the bottom side of the drain. While not always specified, adding a very thin bead of silicone to both the top and bottom of the gasket is recommended for extra sealing.
- Secure & Tighten: Install the drain from the top and secure it from the bottom by tightening it down.
- Drain Connections: You’ll likely need various connections from a hardware store. A key component mentioned is an “odor or water valve” with a flow direction to prevent smells from entering the van. The plumbing typically connects to a 1-inch barb, leading to a waste tank. A flexible drain L can be incredibly helpful for making quick adjustments in tight spaces.
Drilling for the Water Port & Shower Hose Connection
To get water to your shower, an access hole for a spray port is installed. This port is preferred because it’s low-mounted, reducing the chance of accidental damage, and allows for easy disconnection of the shower hose.
- Drill Bit: A 2 and 3/4-inch bi-metal drill bit is used for this hole.
- Installation: Once drilled, the port is installed and siliconed around the edges and behind it for a watertight seal. The rivets holding the water port can also be siliconed.
Full Van Shower Tour: Drain, Composting Toilet, & Water Heater
With the drain and water port installed, the entire Van Wife shower setup comes to life:
- Secure & Silent: The installed shower, complete with its functional latch, remains securely closed and does not rattle while driving.
- Teak Flooring: A beautiful teak floor fits perfectly over the drain, adding a touch of luxury and preventing mold.
- Shower Head & Water Port: The shower head connects to the quick connection port, which is only plugged in when in use to prevent accidental damage.
- Water Temperature Control: Instead of a complex mixer, a water heater level is used to achieve the perfect temperature, simplifying plumbing and minimizing leak potential.
- Composting Toilet: The space near the shower is utilized for any toilet including composting toilet, designed to separate solids and liquids.
The drain installation, while requiring precision and attention to detail, is made manageable with careful planning and the right tools. The overall system, from the robust drain to clever water connections, contributes to a highly functional and comfortable van life experience.
Related links:
This is a great vendor that includes free shipping
▶️ Learn more HERE: https://bit.ly/VanLifeVWRF
▶️Shower unboxing video https://youtu.be/D_uI1vBFfxM
▶️ Shower install video https://youtu.be/DaPpAO9eGxY
▶️ Shower drain install video – https://youtu.be/MzA-VIWlnos
▶️ Composting Toilet https://youtu.be/8xYEz-72Q-8