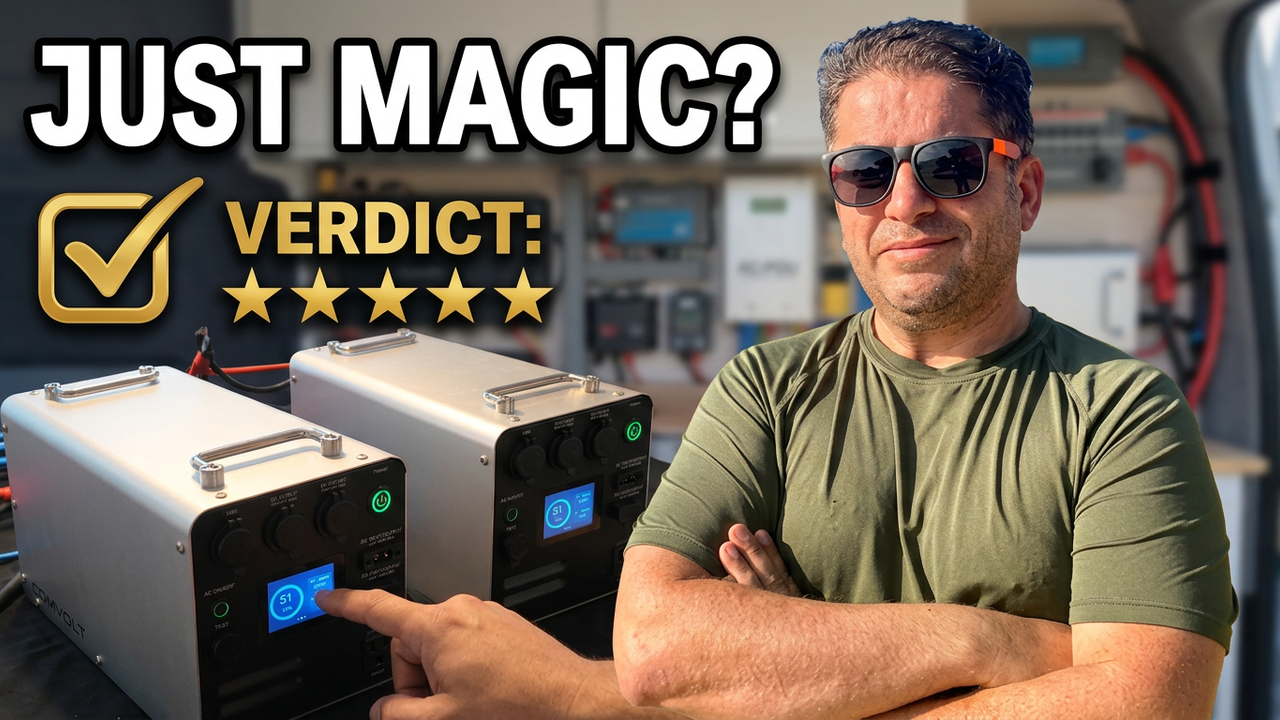
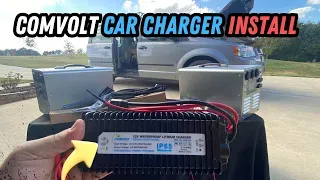
Are you looking to upgrade your vehicle’s power capabilities with a Comvolt 4000Wh or 3000Wh portable power station? With these units, Comvolt includes a specialized 30-amp car charger that vastly outperforms standard 12V chargers, delivering over 400W instead of the usual 100-120W. Here’s a full installation guide with some useful tips and tricks to make the process smoother.
Watch the full video HERE.
Unpacking and Key Components
The Comvolt charger setup is thoughtfully designed to integrate easily with your power station. Key components included in the kit are:
- XD90 Connection Cable: This durable cable connects the charger to the power station and is reinforced to withstand wear.
- Positive Lead Cable with Fuse: This includes a transparent fuse window for easy inspection, making it straightforward to check for faults.
- Negative Lead Cable: For connecting to your vehicle’s ground.
- Cigarette Lighter Adapter: Allows toggling the unit on and off easily without further wiring.
Tools for a Clean Installation
For a secure and neat install, gather these tools:
- Screwdrivers and multimeter (to check grounding)
- Zip ties to secure cables in place
- Sandpaper or wire wheel to clean ground points
Step 1: Planning and Routing
Start by planning your wiring path from the vehicle battery or alternator to where you intend to keep the power station. In this example, we’re routing from the positive terminal of the vehicle battery through an entry point in the firewall, down along the vehicle’s trim pieces, and into a rear storage compartment.
Step 2: Connecting the Positive Lead
Secure the positive lead to your vehicle’s battery. If you have a firewall access point, guide the wire through this. An easy hack: heat the tip of a screwdriver and carefully poke through the firewall bushing, creating a secure passage without tearing, which helps prevent any splitting. Once the cable is through, route it along the trim pieces, securing it with zip ties to avoid movement.
Step 3: Installing the Ground Wire
Identify a solid ground point inside the vehicle. In this setup, a compartment bolt near the rear of the van was used, cleaned with sandpaper for optimal conductivity. With your multimeter, check that the ground is free from paint or corrosion to ensure solid electrical contact.
Step 4: Plugging in and Securing Connections
Attach the XD90 connector to the charger and the power station. Double-check each connection point, especially the positive and ground connections. The modular setup allows you to mount the charger in a discreet location, securing the wires with zip ties to prevent rattling.
Step 5: Testing the Setup
Once all connections are in place, turn on your ignition and press the on button for the lighter adapter; the charger’s green light should turn red, indicating active charging. Comvolt’s smart car charger ensures the vehicle battery won’t be drained when the vehicle is off. Additionally, if the ignition is turned off, the charging stops automatically, protecting your vehicle’s battery life.
Final Thoughts and Optional Install Tips
With everything in place, your Comvolt charger is ready to reliably charge your power station on the go, and installation should take about an hour. Here are some alternative methods if you’re working with different vehicles:
- Direct Battery Access: In some vans, like the Mercedes Sprinter, the battery is located under the floorboard, making direct access much easier.
- Alternator Connection: While more complex, connecting directly to the alternator is an option if you have access to a lift.
Conclusion
This 30-amp Comvolt car charger installation enhances your power setup significantly, making it perfect for road trips, camping, or any situation requiring reliable, portable power
Where to purchase
▶️ Link 3 KWH unit https://bit.ly/3000whUnitRFv2 for extra saving use this DISCOUNT Coupon code :KO-Comvolt_RANDOMFIX101
▶️ Amazon link ( more expensive than buying direct ) not available yet but here is the 3KWH link https://amzn.to/3X15I7h
▶️ 4KWH Unit is CURRENTLY ON A SUPER SALE, AND SAVE EXTRA WITH DISCOUNT COUPON CODE KO-Comvolt_RANDOMFIX101 Comvolt 4Kwh Unit Purchase HERE https://bit.ly/4200whUnitRFv2
▶️ 6 KWh units https://bit.ly/6000whUnitv2 6,016wh!! For extra saving use this DISCOUNT Coupon code :KO-Comvolt_RANDOMFIX101
▶️ Already own a Comvolt unit? Just addon power! https://bit.ly/ExpansionPacksRFv2 for extra saving use this DISCOUNT Coupon code :KO-Comvolt_RANDOMFIX101
▶️ Perfect 400-watt solar panel https://amzn.to/3YRMjYQ Want the smallest unit with 6kwh of power?
Related video links
▶️ 13,000+ watt hour system https://youtu.be/CpxEwSwUNbA
▶️ 3Kwh Unit Review https://youtu.be/7I8w5NbcXXA
▶️ 4 Kwh Unit Review https://youtu.be/j4RFnUOsUpM
▶️ Updated 4200 wh unit review https://youtu.be/mM6FZLVDISM
▶️ Vehicle Charger Install https://youtu.be/vN6dCU8epOw