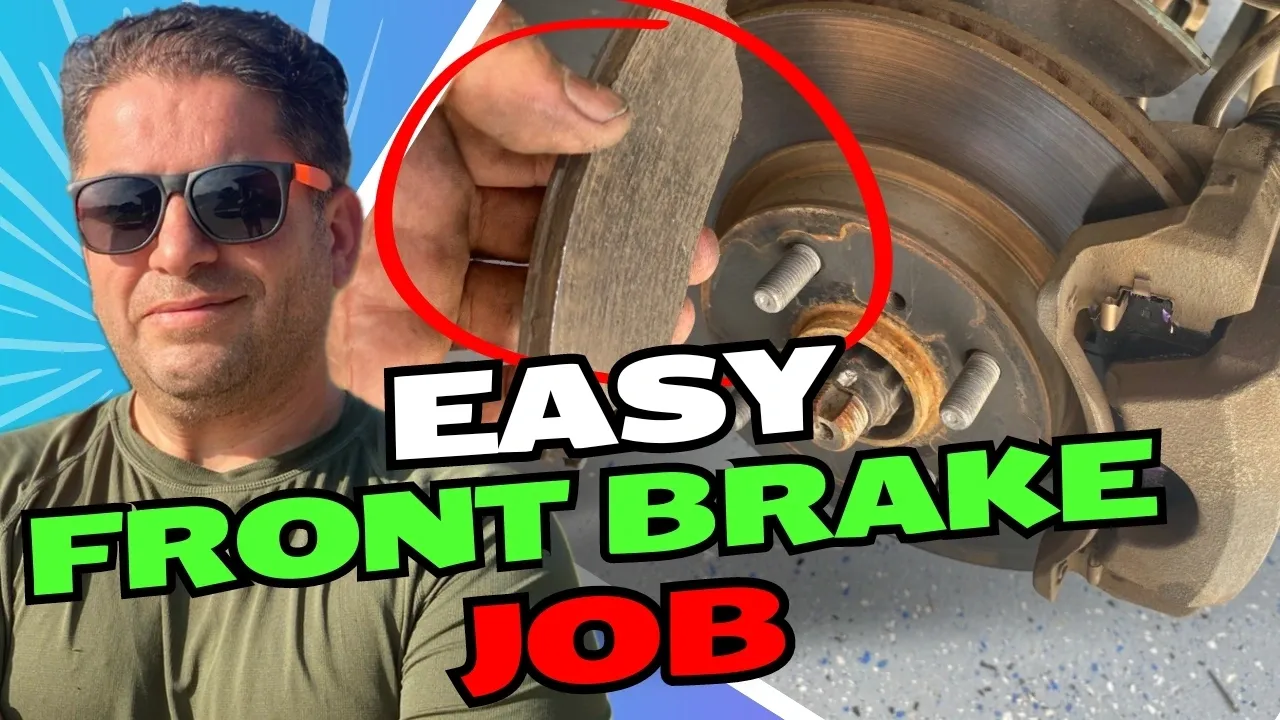
Changing the front brakes on your Toyota Prius C might sound daunting, but with the right tools and guidance, it’s a job you can tackle at home. In this guide, I’ll walk you through replacing both the front brake pads and, if necessary, the rotors. This process applies to most vehicles with similar setups, making it a valuable DIY skill. Let’s get started! Watch the full video HERE.
Tools and Materials Needed:
- 21 mm socket for removing the tires
- 14 mm socket for the brake caliper bolts
- 17 mm socket for caliper bracket bolts
- Brake pad spreader tool or a C-clamp
- Brake cleaner for cleaning surfaces
- Brake parts lube for lubrication
- Thread locker (blue) to secure bolts
- New brake pads and rotors (if needed)
Step 1: Remove the Tire
To begin, lift the car using a jack and remove the front tires. Use a 21 mm socket with an impact wrench to remove the lug nuts. If you’re unfamiliar with how to lift a vehicle safely, you can find tutorials and guides online.
Step 2: Remove the Brake Caliper Bolts
Once the tire is off, you’ll see the brake caliper. To change the brake pads, you’ll need to remove the caliper by loosening the 14 mm bolts. Start with the bottom bolt, then move to the top bolt. Swivel the caliper up and secure it using a bungee cord or hanger to keep it out of the way.
Step 3: Compress the Brake Caliper Piston
Before compressing the piston, slightly loosen the brake fluid reservoir cap under the hood to allow fluid to return as you compress. Using a brake pad spreader tool or C-clamp, gently compress the piston. This step is essential as it makes room for the new brake pads.
Step 4: Inspect and Lubricate the Caliper Guide Pins
The next step is to remove the guide pins. These pins help the brake caliper move smoothly. Inspect the rubber boots for any damage, then remove the pins. Clean off any grime and apply a small amount of brake parts lube. Reinstall the pins once cleaned and lubricated.
Step 5: Remove the Old Brake Pads
With the caliper out of the way, the old brake pads should easily swivel out. Take note of their positioning, as the new ones will go in the same way. Simply slide the old pads out and inspect them for wear.
Step 6: Install the New Brake Pads
Slide the new brake pads into place, ensuring they sit flush and in the correct orientation. If your new pads come with replacement hardware, install that as well. Higher-quality brake pads often include this hardware.
Step 7: Remove the Caliper Bracket and Rotors (If Needed)
If you’re replacing the rotors, you’ll need to remove the caliper bracket by loosening the 17 mm bolts. Once the bracket is removed, the rotor should slide off. If it’s stuck, you may need to tap it gently with a hammer to loosen it. Clean the rotor surface with brake cleaner before reinstalling.
Step 8: Install the New Rotor (Optional)
If you’re replacing the rotor, simply slide the new one into place. Make sure the surface is clean and free of debris. Reattach the caliper bracket by torquing the 17 mm bolts securely.
Step 9: Reassemble the Brake Components
With the new brake pads and rotor in place, it’s time to reassemble everything. Place the brake caliper back over the new pads and secure it using the 14 mm bolts. Torque these bolts to the recommended specifications (check your manual or the specs on screen if available).
Step 10: Apply Thread Locker and Recheck Torque
Apply a small amount of blue thread locker to the caliper bolts to ensure they don’t loosen over time. Avoid using red thread locker, as it’s difficult to remove later. Recheck the torque on all bolts to make sure everything is secure.
Step 11: Reinstall the Tire and Lower the Vehicle
Once everything is reassembled, reinstall the tire and tighten the lug nuts. Carefully lower the vehicle back to the ground.
Step 12: Pump the Brakes
Before driving, make sure to pump the brakes to build up pressure. This ensures the caliper piston is fully seated against the new brake pads.
Step 13: Test Drive
After everything is complete, take the car for a slow test drive to ensure the brakes are working correctly. Be cautious at first, and make sure you feel proper brake pressure before driving at regular speeds.
Final Thoughts
Replacing your brake pads (and rotors, if needed) is a rewarding and cost-effective maintenance job you can do yourself. Not only does it save you money, but it also helps ensure your car’s braking system is in top shape. Just take your time, follow these steps carefully, and don’t hesitate to consult your vehicle’s manual for specific torque settings and additional instructions.
By completing this job on your own, you’ll have peace of mind knowing your brakes are in excellent condition!
Watch the full video HERE.