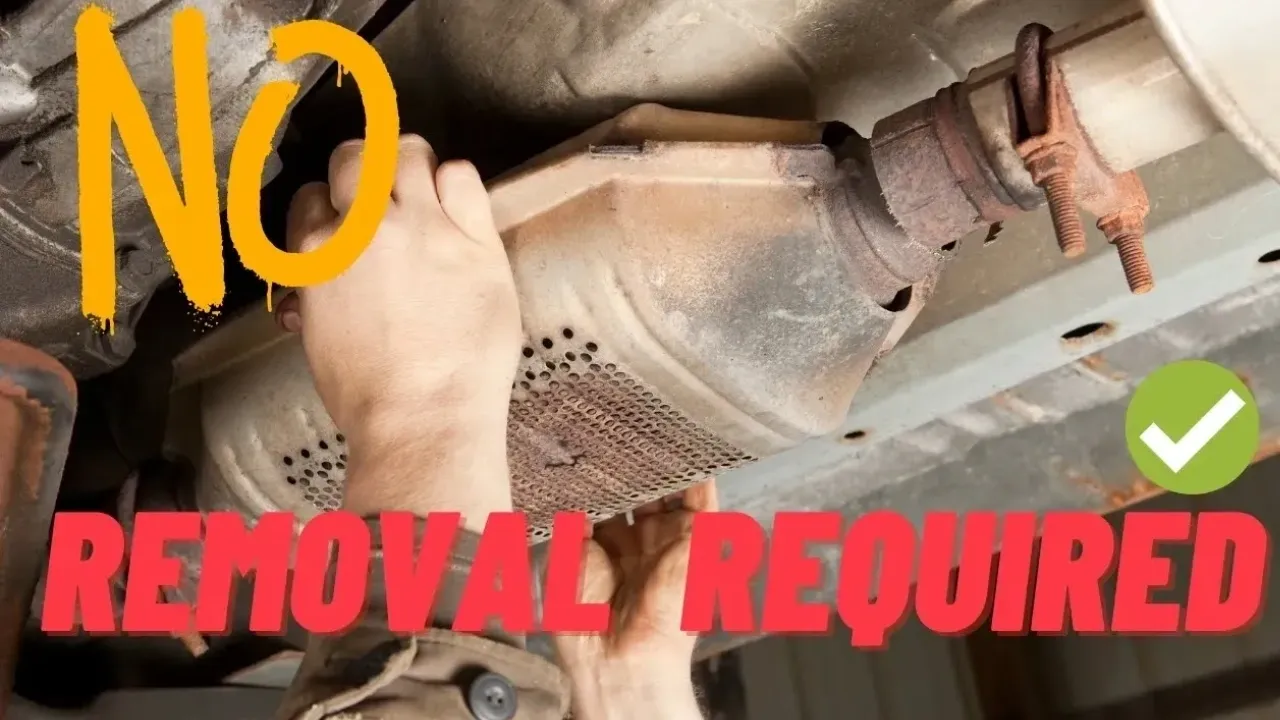
Are you troubled by persistent P420 or P430 codes in your vehicle? Is your catalytic converter causing issues with emission monitors? Before you rush to replace your catalytic converter, let’s explore a simple and effective DIY method to clean it up.
Introduction: Welcome to Random Fix! If you’re grappling with catalytic converter-related problems and seeking an alternative solution to costly replacements, you’re in the right place. In this guide, we’ll walk you through a straightforward process to clean your catalytic converter directly, bypassing the combustion chamber.
Understanding the Process: The first step is to disconnect your upstream oxygen sensor, located before the catalytic converter. We’ll guide you through the removal process, ensuring safety and effectiveness throughout.
Essential Tools: Before diving in, gather the necessary tools, including oxygen sensor sockets, anti-seize compound, dialectic grease, ratchets, and electronic parts cleaner. These tools will facilitate a smooth and efficient cleaning process.
Removing the Oxygen Sensor: With the proper tools at hand, carefully remove the oxygen sensor, ensuring to replace it when the engine is cold to prevent any risk of burns from hot exhaust components.
Cleaning the Catalytic Converter: Once the oxygen sensor is removed, it’s time to introduce the cleaning agent. We recommend using Sea Foam, inserted directly into the oxygen sensor hole. Take your time to spray the cleaner evenly, targeting different areas of the catalytic converter for thorough cleaning.
Reinstalling the Oxygen Sensor: After cleaning the catalytic converter, reinstall the oxygen sensor with the appropriate torque specifications. Apply anti-seize compound to the threads, ensuring a secure yet non-intrusive fit.
Final Steps: Complete the process by applying dialectic grease to the connector and clearing any check engine lights. Allow the vehicle to run for 10-20 minutes in an open area to dissipate any smoke and verify the effectiveness of the cleaning.
Conclusion: By following these simple steps, you can effectively clean your catalytic converter and address common issues without the need for expensive replacements. Enjoy improved performance and reduced emissions, all while saving time and money.
Subscribe for More: For more practical DIY solutions and automotive tips, don’t forget to subscribe to Random Fix. Stay informed and empowered to tackle common vehicle issues with confidence.
Join the Community: Have questions or feedback? Join the discussion in the comments below and become part of our growing community. Your input and experiences can help others navigate their own automotive challenges.
Watch the Full Video: For a visual walkthrough of the catalytic converter cleaning process, watch the full video here. Learn firsthand how to revitalize your catalytic converter and keep your vehicle running smoothly.
Thank you for your continued support, and happy DIYing!