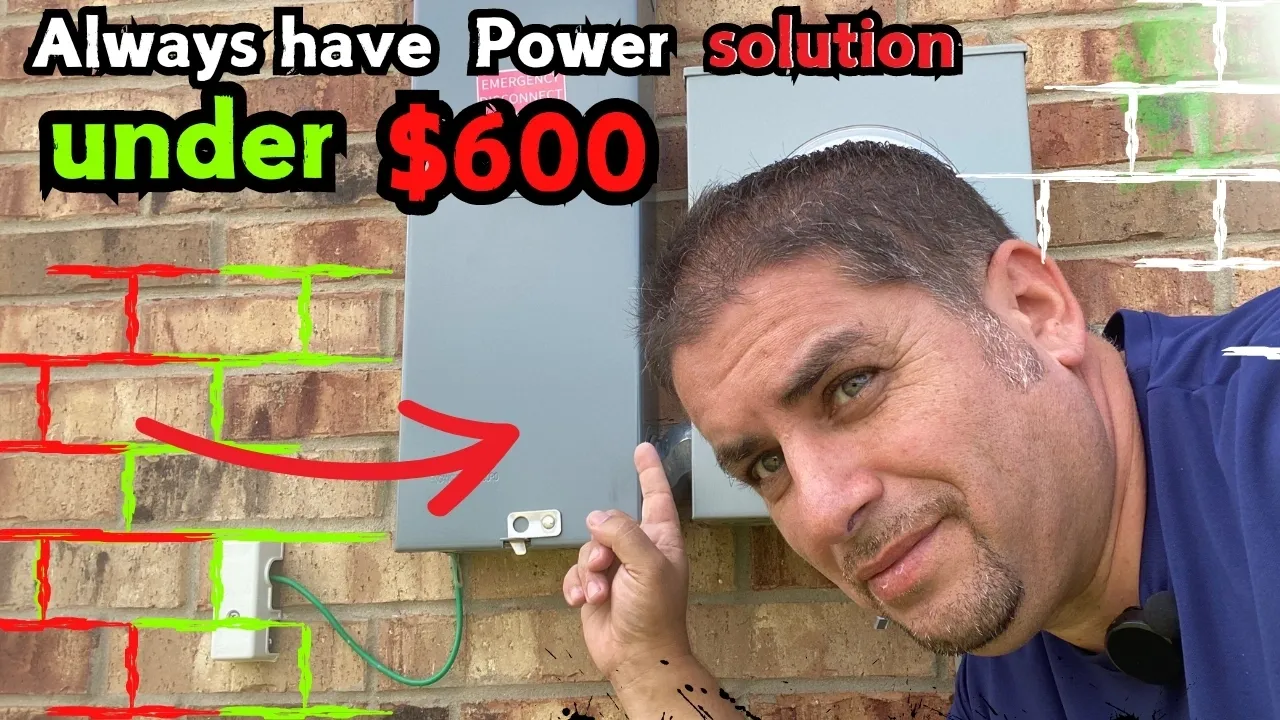
If you’re looking for a reliable, cost-effective solution for home backup power, you’re in luck. In this guide, we’ll walk you through a method that costs less than $600, ensuring that essential appliances in your home, like the refrigerator, lights, and internet, stay on during power outages. The best part? It’s simple, safe, and doesn’t require any ongoing maintenance. Watch full video guide HERE.
Why a Backup Power Solution?
Living in areas prone to frequent power outages can be frustrating, especially when it affects your daily life. Having experienced power cuts up to three times a week, I needed a solution to avoid food spoilage and stay connected. After thorough research and experimentation, I designed a safe, efficient, and affordable system that powers my home essentials.
Key Features of This Backup Power Solution
- Cost-Effective: The entire setup, including all parts and the power unit, costs less than $600.
- Safety First: Electrical safety is paramount. This system avoids dangerous practices like injecting power into your home’s main electrical panel, which can pose a risk to utility workers. By keeping circuits unrelated, with breakers in place, you ensure your home wiring and electronics are protected.
- Maintenance-Free: Once installed, this system requires zero maintenance.
Components of the Setup
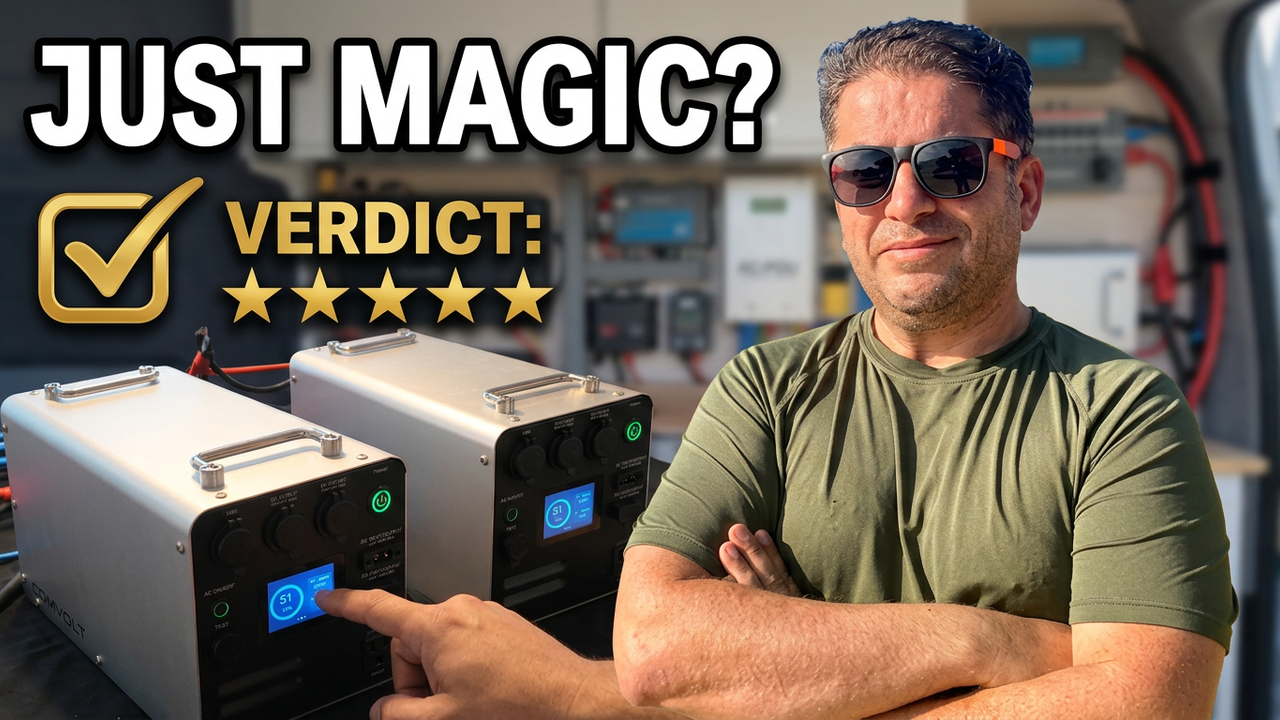
The system primarily runs on a portable power station, which powers essential appliances like refrigerators, internet routers, and lights for up to 10 hours. Even during longer outages, I have other solutions to keep the power flowing.
Here’s the setup in a nutshell:
- Power Unit: A powerful portable station that provides power to essential circuits.
- Connections: The house receives power through a 120/240V rated female plug, ensuring no risk of accidental electric shock.
- Wi-Fi Monitoring: The unit is Wi-Fi and Bluetooth-enabled, allowing you to monitor power usage and system status remotely.
The Simple and Safe Power Transfer Process
The power unit is connected to the home’s wiring via a safe method where only one plug is energized at a time, making it foolproof. The plug twists and locks into place, ensuring it doesn’t accidentally disconnect. When the main power goes out, the system kicks in automatically, supplying backup power to the house.
What Makes This System Unique?
Unlike gas or diesel generators, which require fuel and emit fumes, this system is silent, clean, and powered by electricity. Initially, I used a Toyota Prius as a backup generator, which worked well due to its low fuel consumption and automatic power management.
Safety Enhancements
One of the earlier challenges was using a “dead man’s plug”, which posed risks, especially for children or unsuspecting users. To make the system safer, I installed additional safety measures like fail-safe circuits and breaker locks. These ensure no one accidentally turns on circuits that are already energized from the backup power source.
Powering the System with Solar
For those wondering how to keep the system running during extended outages, the solution is simple: solar power. A 200-watt solar array can easily power the system, allowing you to charge the battery during the day, ensuring continuous operation.
Installing the 30-Amp Receptacle
To future-proof your setup, I recommend installing a 30-amp plug, which allows for future upgrades and supports both 120V and 240V power. The process is simple, and I suggest using 8/3 wire for a safer, more durable installation. Watch full video guide HERE.
Wiring and Installation Tips
For the installation, I used a double-pole breaker to safely manage the power flow. These breakers aren’t polarity-sensitive for AC power, making them easy to install. For anyone planning to do the wiring, use heavier gauge cables to allow for future expansion.
Avoiding Common Mistakes
One of the most dangerous mistakes people make is injecting power into the home’s main panel, which can cause serious harm to utility workers. My solution ensures that doesn’t happen by isolating the circuits and keeping them protected with breakers.
The Benefits of Solar Power
To take your system to the next level, you can install solar panels in your yard or on your roof. Solar energy will keep your backup power unit charged without relying on external power sources, ensuring a long-term, sustainable solution.
Conclusion
This affordable, safe, and maintenance-free backup power solution can be installed in a single afternoon, saving you thousands of dollars compared to traditional backup systems. It’s ideal for anyone looking to maintain essential services during power outages, without the noise and hassle of gas generators. Best of all, the system can easily be upgraded to handle more power as your needs grow.
If you’re considering backup power for your home, this system provides a reliable solution for peace of mind. You can easily expand it with solar power and make your home energy independent in no time!
Watch full video guide HERE.
 diagram of wiring from video https://bit.ly/3AX9aZg
Wiring Directions from video Step 1:
Receptacle installation and wiring to the new receptacle.
Here’s a summary of the wiring instructions for installing a new 30 Amp male receptacle using 8/3 Romex:
Materials: Use 8/3 Romex for the wiring, which includes 2 hot wires, 1 neutral wire, and 1 ground wire.
Wiring Connections:
Black wire (Line / Hot): Connect this to the line (hot) side of the new circuit breaker.
Red wire (Line / Hot): Connect this to the other line (hot) side of the new circuit breaker.
White wire (Neutral): Connect this to the neutral bus bar inside the main breaker panel. This wire does not go through the breaker.
Green wire (usually bare cooper wire or green): Connect this to the ground bus bar inside the main breaker panel. This wire also does not go through the breaker.
Safety Reminder: Make sure to turn off the main power before working on the panel and use a voltage tester to ensure everything is de-energized.
Step 2
Wiring instructions from newly installed circuit breaker to existing circuit.
-Black wire (load/hot wire) connect this to the load side of the newly installed circuit breaker and existing black wire (hot/line) for selected circuit using wago connectors(120 volt)
-Red wire (line/hot wire) connect this to the load side of the newly installed circuit breaker and existing black wire (load/hot) for selected circuit using Wago connectors (120 volt)
-White wire (neutral wire)- is connect straight to neutral bus bar from receptacle
-Green wire (ground) is connect straight to ground bus bar from receptacle.
you are trying to power a 240 volt circuit then black and red wires will both be used. Please proceed with caution and get professional help if needed. Make sure you power station is able produce 240 volts.