A DIY Sprinter Van Upgrade
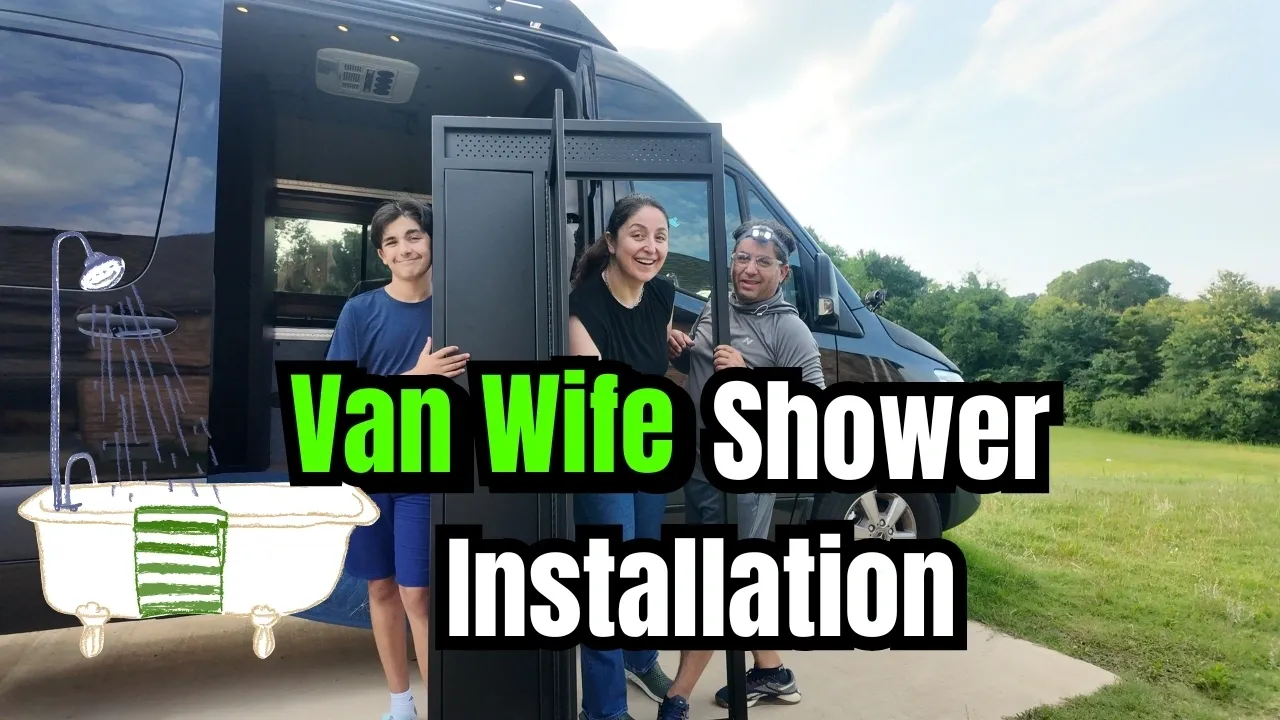
Installing a shower in a camper van can be one of the most challenging and frustrating parts of a van build. However, the Van Wife shower promises a “quick and easy” upgrade, designed to simplify this complex process. Let’s dive into the installation journey, from preparation to the final touches, as detailed in the provided transcript.
See Full video HERE
Why Choose the Van Wife Shower?
The decision to go with the Van Wife shower stems from the desire for quality and ease of installation, aiming to avoid the complexities often associated with custom wood builds. This all-in-one shower unit comes in different sizes to fit various Sprinter models, and includes a door and a small vent. It measures 24 inches deep and 36 inches wide, and is available in different colors. The main appeal is its comprehensive design, which simplifies what is typically a time-consuming project.
Essential Tools for Installation
Before starting, gathering the right tools is crucial for a smooth installation. The transcript highlights several key items:
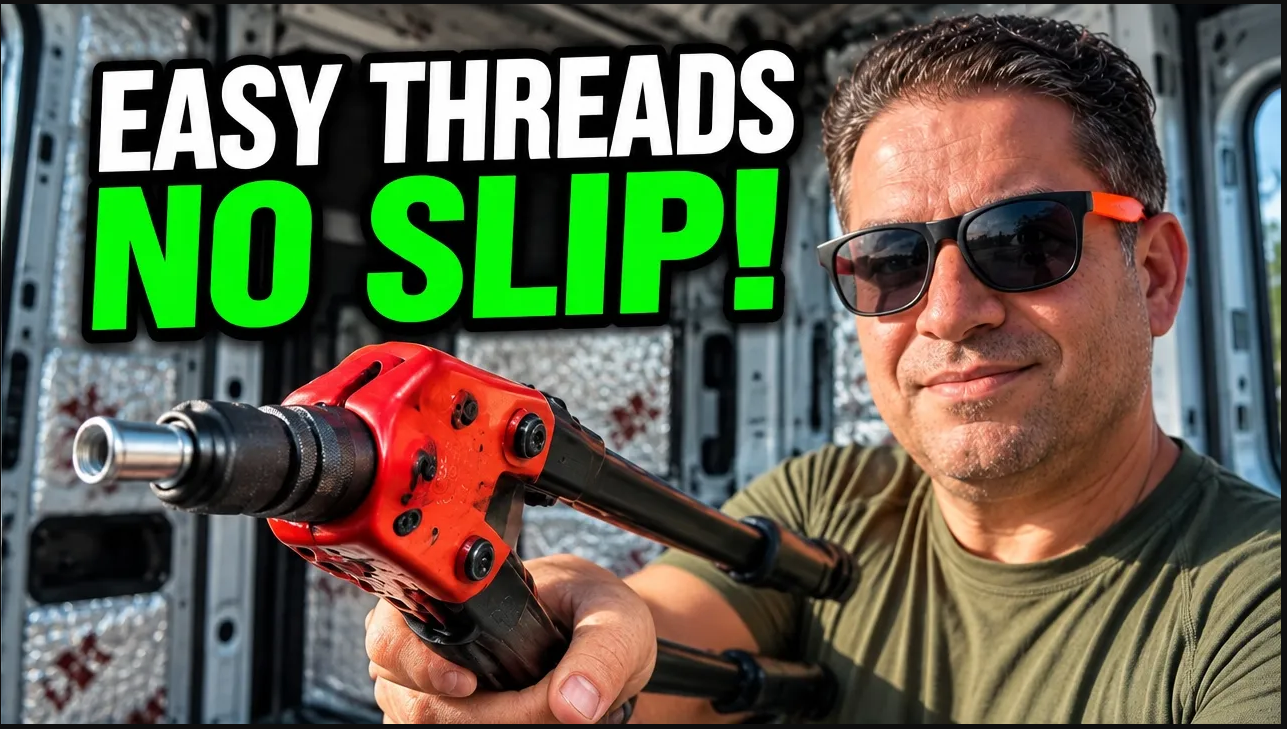
Riveters: Both swivel-head and solid-head riveters are mentioned, with a strong recommendation for a swivel-head type or, even better, a power riveter for corners and tight fits. A drill attachment for riveting is also noted as a highly effective and faster alternative.
Caulking Gun & Sealant: Essential for applying silicone sealant. The recommended sealant is black, and it’s important to use a quality product to prevent leaks.
Masking Tape: Useful for holding panels during assembly and protecting upholstery from silicone. Frog tape is specifically mentioned for leaving no residue.
Sharpie, Drill Bit, Water for Hydration: Standard tools for marking, drilling, and staying hydrated during the process.
Trim Tool: For working in silicone and cleaning up corners.
Oscillating Tool: Helpful for removing broken rivets.
Prepping Your Sprinter Van for Shower Installation
Preparation is key to a successful installation. This involves:
Protecting the Interior: Lay down protective material on the van floor to prevent damage during installation.
Measuring: Ensure you have at least 74.5 inches of vertical clearance from top to bottom for the shower unit.
Identifying Panels: The first pieces to grab are the rear and the left side panel (the one without the latch), followed by the right side panel (with the latch). The shower pan, top, and door are installed later.
Assembling the Van Shower Panels: Step-by-Step Guide
The assembly process involves carefully joining the pre-fabricated panels:
Silicone Application: Apply a thin layer of black silicone along the seams where panels meet for best results.
Panel Joining & Taping: Use masking tape to temporarily hold panels together, especially while applying silicone, to prevent smearing on upholstery.
Riveting Panels: Rivet the panels together securely. It’s emphasized that two people are helpful for this step. Troubleshooting tips include fully compressing and decompressing the riveter handle with each use and pushing the panels together firmly while riveting.
Silicone Cleanup: Once rivets are in, work the silicone into the seams and clean up any excess using a trim tool. Be careful not to remove too much.
Pro Tips & Troubleshooting During Rivet Installation
The installation journey often comes with learning experiences:
Broken Rivets: If a rivet breaks early, an oscillating tool can carefully remove it. Applying extra silicone to the area is recommended.
Choosing the Right Riveter: A swivel-head riveter is crucial for tight corners. A power riveter significantly reduces manual effort and speeds up the process. It’s noted that rivets are “almost the perfect fastener” but can be hard to undo, though a step-up drill bit can help.
Protecting Upholstery: Masking tape over rivet locations prevents staining from protrusions that break off during the riveting process.
Collecting Debris: Collect broken rivet pieces to avoid them floating around the van and causing noise.
Installing the Shower Pan & Door Assembly
With the main panels assembled, the next steps involve the pan and door:
Shower Pan Installation: Apply silicone to the actual panels (not the pan itself) along the bottom line where the pan will sit. Then, place the shower pan into the stall, ensuring the base walls are spread wider at the front. Secure the pan to the rear wall with three rivets in the designated laser holes.
Door Assembly: The 36-inch shower door comes pre-assembled. It’s attached to the front of the shower using six rivets. It’s critical to rivet all three connecting panels (sidewall panels and the front door panel) together, especially for longer shower units.
Ceiling Panel & Latch Adjustment: The ceiling panel goes in last. Before installing it, ensure the door’s latch lines up correctly. Minor adjustments can be made by gently tapping the latch mechanism with a flathead screwdriver and a small hammer if it’s slightly off.
Lighting & Finishing Touches for Your Van Shower
The final steps involve adding lighting and sealing for a complete finish:
Lighting: The addition of two dimmable lights with a blue feature is highly recommended, especially for black showers, as they can be “super dark.” These lights require minimal holes for wiring and screws.
Silicone Sealing: After assembly, run a bead of silicone in each corner and along the bottom, then smooth it with a finger. Frog tape helps create clean lines and prevents residue on the metal.
Wire Management: Wires for lights can be soldered and protected with wire loom for long-term peace of mind.
The Completed Van Shower: Features & Final Review
The completed Van Wife shower is a functional and visually appealing addition to the Sprinter van. Key takeaways from the final review include:
Durability: The shower material is “really nice” and “does not scratch easy.”
Stability: The shower is securely fastened to the van in multiple spots, including the back, top (aiming for the van’s ribs), and through the floor via the drain. This robust mounting prevents rattling while driving.
Drain Solution: A “really nice solution” for the drain is mentioned, suggesting checking out a separate video for more details.
Riveting Tool Impact: The $15 rivet tool is praised for making the job incredibly easy and fast, completing the main shower installation in about an hour.
Quality Components: The rivets provided with the Van Wife shower are highlighted as “top quality.”
Upgrades: An added rubber seal (now included in newer purchases), teakwood flooring for the drain area (which won’t mold), and a water port with a quick connection shower hose are noted as excellent upgrades. A 42-inch water-repellent shower curtain is also recommended for optimal coverage.
Practicality: The quick connection for the shower hose allows for easy stowage, preventing damage when not in use.
Vanlife Outfitters: The Van Wife shower can be purchased from Vanlife Outfitters, which offers free shipping and no sales tax.
The Van Wife shower ultimately provides a streamlined and high-quality solution for van dwellers looking to incorporate a functional and comfortable shower into their Sprinter van.
Related links:
This is a great vendor that includes free shipping
▶️ Learn more HERE: https://bit.ly/VanLifeVWRF
▶️Shower unboxing video https://youtu.be/D_uI1vBFfxM
▶️ Shower install video https://youtu.be/DaPpAO9eGxY
▶️ Shower drain install video – https://youtu.be/MzA-VIWlnos
▶️ Composting Toilet https://youtu.be/8xYEz-72Q-8