If you’ve ever bought a used vehicle with only one key, you know how nerve-wracking it can be. Lose that single key, and you’re looking at a nightmare of costs and logistics, especially with some Japanese vehicles like the Toyota Prius. In this blog post, we’ll walk you through one driver’s experience of successfully programming a smart key for a 2012 Toyota Prius—without locksmith experience or visiting a dealership. Here’s how he saved $400 using a DIY method and a handy scan tool, all in under 10 minutes!
Watch the full video HERE.
The Motivation: Avoiding Dealership Prices
When purchasing a used vehicle, it’s not uncommon to receive just one key. The risk of losing that key becomes a significant concern because in many cases, replacing it could mean spending a small fortune. The DIYer in this case had a previous experience with a Lexus, where losing a key resulted in a bill of $1,500 after a lengthy process involving the dealership, shipping the car’s computer to Japan, and waiting for a reprogrammed key to be returned.
Determined to avoid such a situation with his Prius, our DIYer set out to program a replacement key himself. A locksmith had quoted him over $400 for the job, so he decided to try a much more budget-friendly approach: purchasing a non-Toyota replacement key online for around $43, and using a scan tool to program it.
The Tool: Autofix D1 Light Scan Tool
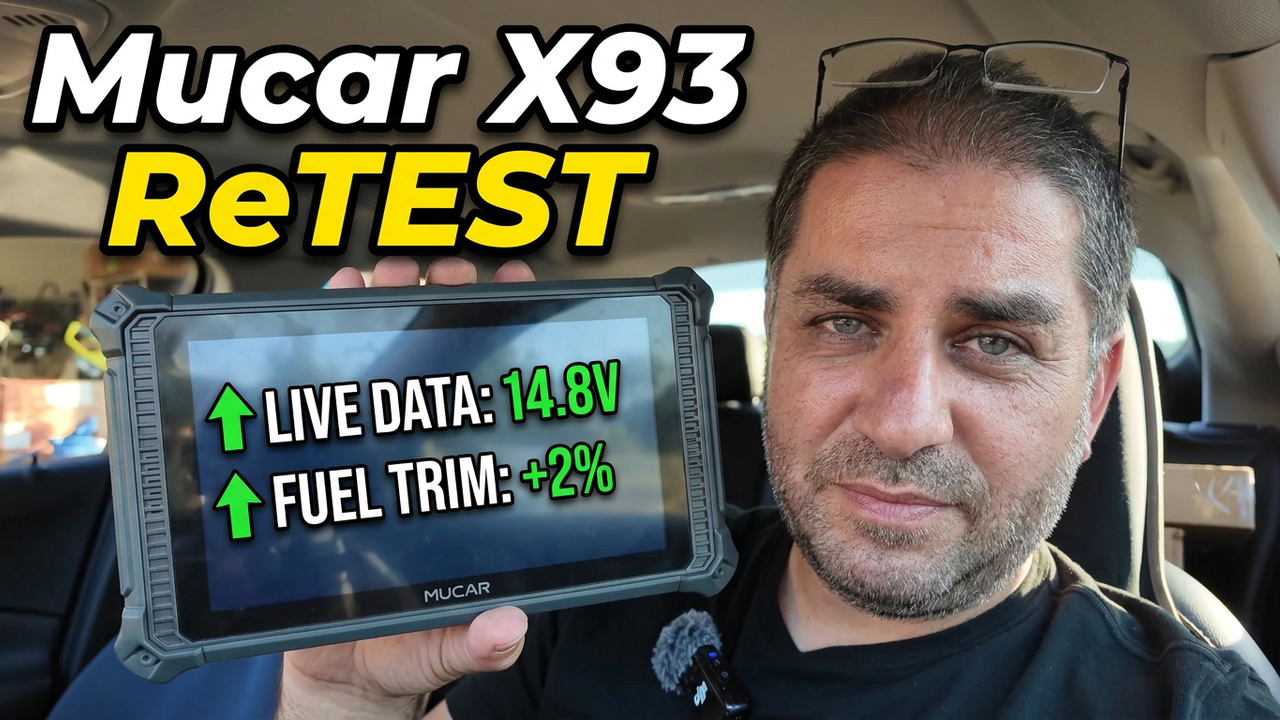
To perform the key programming, he used the Autofix D1 Light Scan Tool, a device priced under $400 that promised to do much more than just key programming. This Bluetooth-enabled device comes with two years of included updates, and the DIYer made an excellent point: you can easily recoup the cost of the tool after just one use, especially considering the savings compared to visiting a dealership or locksmith.
Steps to Programming the Smart Key
Here’s the step-by-step process he followed:
- Find the Right Key: The first task was identifying the correct key for the Prius. If you don’t have the part number for your key, you can remove the key’s cover, take a picture of the board, and zoom in to find the model number. By typing this number into Google, you can find compatible replacement keys.
- Plug in the Scan Tool: The next step was plugging the Autofix D1 Light into the car’s OBD-II port (located beneath the dashboard). The scan tool immediately recognized the vehicle and decoded the VIN (Vehicle Identification Number).
- Update the Scan Tool: Before proceeding, it’s important to ensure the scan tool’s software is up to date. The DIYer checked for any available updates specific to Toyota and proceeded with confidence that his tool was fully up-to-date.
- Immobilizer Key Programming: With the scan tool ready, he selected the Immobilizer function from the menu and moved on to the smart code registration process. He noted that it’s essential to keep an eye on your car’s battery voltage—it should stay above 11.5V during the process, otherwise, you may need to use a battery tender to avoid failure.
- Register the New Key: Following the prompts from the scan tool, he successfully registered the new key by touching the button on the key fob. The system allowed up to five keys to be registered, and it recognized that two keys (one of which was lost) were already registered. After a slight mistake—touching the key button twice instead of once—the new key was successfully programmed.
- Test the Key: The moment of truth came when he tested the new key in the car—and it worked perfectly! The Prius started, and all the vehicle’s smart key functions, including the keyless entry, worked as expected. He now had a fully functioning second key, saving $400 in the process.
Why DIY Key Programming is Worth It
This process took under 10 minutes, even while recording a video, proving that you don’t need professional experience to program your own smart key. For anyone who wants to avoid the high costs of a dealership or locksmith, this is a great alternative.
Another bonus is that once you own a scan tool like the Autofix D1 Light, you can help neighbors or friends with similar issues, potentially even making a little extra money on the side.
Things to Consider
- Non-OEM Keys: The replacement key he used was not an official Toyota key, but it still worked perfectly. It’s important to research thoroughly when purchasing a non-OEM key to ensure compatibility.
- Battery Precautions: Keeping an eye on the vehicle’s battery voltage during the process is crucial. If the battery falls below 11.5V, it can cause issues with programming, and you may need to charge or replace the battery before proceeding.
- Further Customizations: While he was excited to have a second key, he also mentioned that if the car’s battery were to die completely, he might not be able to unlock the car with the new key. However, he shared potential fixes, such as running a hidden wire to bypass the issue if needed.
Final Thoughts: A Successful DIY Experience
This key programming experience turned out to be surprisingly easy and rewarding. In less than 10 minutes, the DIYer had a new, working smart key and avoided an expensive trip to the dealership.
The Autofix D1 Light Scan Tool proved to be a reliable and useful device that provided clear instructions, making the process simple, even for someone without locksmith experience. For anyone who owns a vehicle that uses smart keys and wants to avoid hefty replacement costs, investing in a scan tool and doing the programming yourself is an excellent option.
In the end, not only did he successfully program a key for his Prius, but he was confident enough to try the same method for his Dodge vehicle. If you’re interested in tackling a similar project, the right tools and a little bit of patience can save you hundreds of dollars.