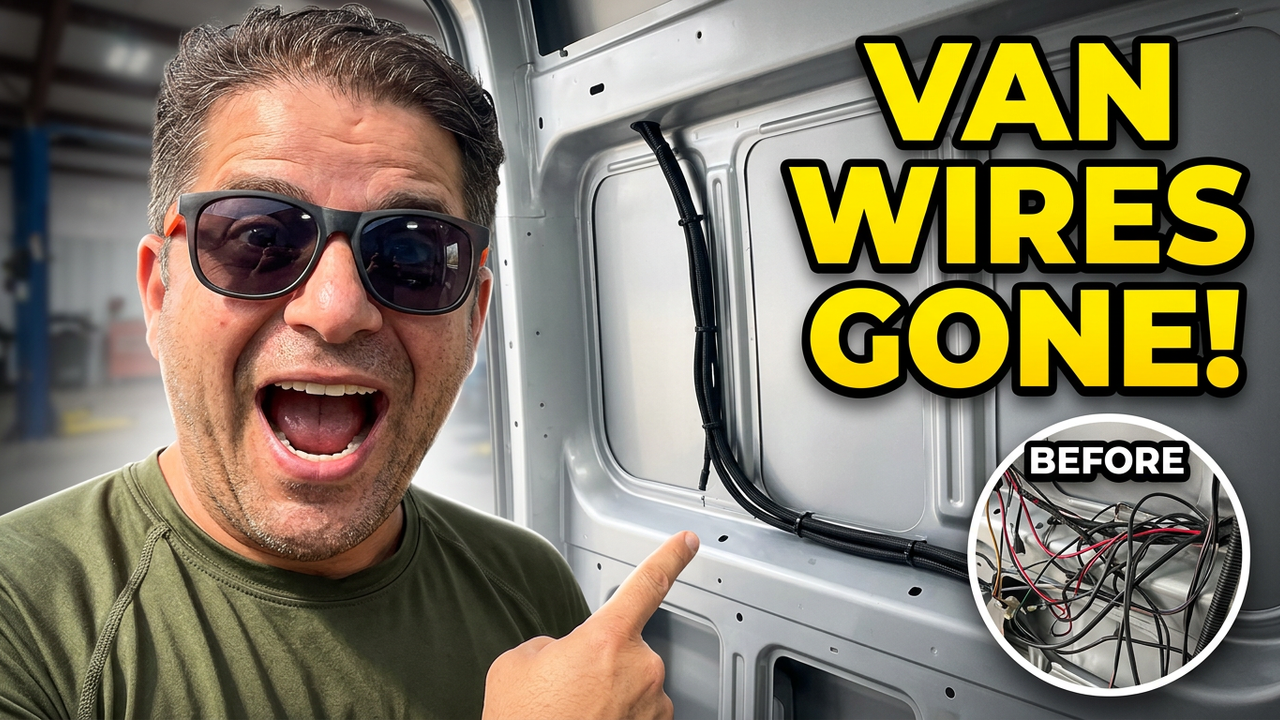
When you are converting a Mercedes-Benz Sprinter cargo van into an off-grid campervan, one of the most tedious yet crucial tasks is getting your interior walls and paneling to fit flush. The biggest culprit standing in your way? The factory wiring harness that runs right down the middle of the walls from front to back, powering your upper lights, backup camera, and tail lamps.
If left untouched, that harness forces you to notch your framing and leaves unsightly bumps under your wall panels. Rerouting it safely into the internal body cavities creates a clean, professional finish.
Watch the step-by-step wiring reroute walkthrough in the video below:
Why Reroute the Factory Harness?
-
Flush Wall Panels: Tucking the wiring harness inside the van’s internal structure allows your insulation, framing, and interior wood or fabric panels to slide smoothly into place without bulging.
-
Professional Aesthetics: Eliminates surface wires, ensuring your custom cabinetry and walls look like a factory-built RV.
-
Preserving Functionality: By carefully extending and rerouting paths, you can keep factory switches, overhead lighting zones, and rear camera feeds fully operational.
Essential Tools & Prep Work
Before turning a wrench or picking up a drill, gather the right equipment to protect your van from metal shavings, electrical shorts, and sharp edges:
-
Drilling & Cutting Gear: Compact drill, step-up drill bit, 1.5-inch metal hole saw, and a reciprocating saw or trim tools.
-
Safety & Protection: Eye protection, heavy work gloves, and painters tape to cover open body holes so iron shavings don’t fall into unreachable cavities.
-
Finishing Touches: Trim edge guard (crucial for protecting wires where they pass through drilled sheet metal), rubber grommets, fabric electrical tape, wire loom, and rust-proofing touch-up paint (such as black Rust-Oleum).
Step-by-Step Rerouting Guide
1. Disconnect Power & Remove Interior Trims
-
Safety First: Disconnect the primary battery power terminal located near the accelerator pedal by pressing the red release button to avoid short circuits or warning lights.
-
Strip the Interior: Pop off the factory plastic clips along the roof rails and wiring covers using a proper trim removal pry bar. Unbolt grounding points (using 10mm and 13mm sockets) to free up the harness slack.
2. Drilling Access Holes & Protecting Sharp Edges
-
Strategic Placement: When drilling through internal pillars (like the C-pillar and D-pillar), stay clear of factory structural spot-weld points. Use a step bit to shape clean openings.
-
The Golden Rule – Edge Guard: Never let raw wire rest against bare, newly drilled metal. Install cut lengths of trim edge guard around every single hole you create, and follow up with rubber grommets and triple-loomed wire protection to prevent chafing over thousands of miles of road vibration.
-
Rust Prevention: Liberally apply rust-proof touch-up paint to all exposed metal edges created by drilling before running your harness through.
3. Routing Through the Pillars & Securing Connectors
-
Carefully guide your harness through the internal channels, using wire fish tape if necessary to navigate tight corners.
-
Secure the loose sections with fabric tape and high-quality zip ties to eliminate rattles inside the wall cavities.
-
Reconnect your rear lighting harnesses, ensuring factory switches (like the 3-wire switched rear lights) remain functional if you choose to retain manual overhead control from the back of the van.
🚐 Sprinter Build Resources & Playlists
Planning your own Mercedes-Benz Sprinter conversion? Explore our comprehensive build series, 360-degree van tours, and curated parts lists to save time and money on your build:
-
▶️ VS30 907 170 Extended Build Series: Watch the Full Playlist
-
▶️ 170 High Roof Build Series: Watch the Full Playlist
-
▶️ Interactive 360° Campervan Tour: Explore the Van Interior
-
🛠️ Free Van Build Parts List: Access the Tested Parts List
-
💸 Building a Camper Van? Enjoy Fast Delivery and Easier Returns during your build